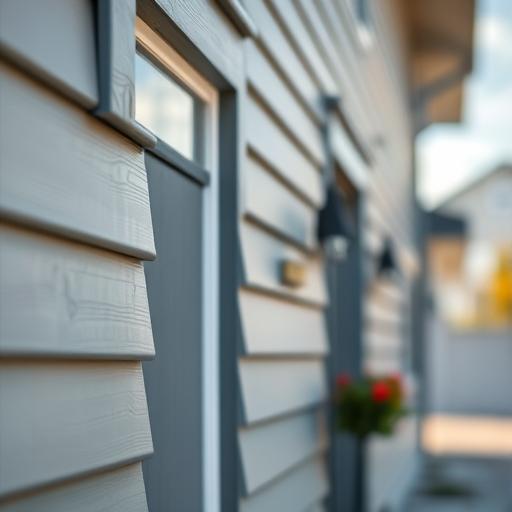
There’s nothing quite like a fresh coat of paint to breathe new life into a room. It’s an exciting project that can completely change the vibe of your space. But there’s often a visible difference between a weekend DIY job and a professional finish. If you want to achieve that flawless look, you need to think like a pro, and that’s especially true for projects like exterior painting Edmonton weather puts to the test.
What if you could learn the secrets that professional painters in Edmonton use every day? You’re in luck! We’ve gathered seven game-changing tips and tricks straight from the experts. These simple hacks will help you save time, reduce frustration, and achieve a result so perfect your friends will think you hired a crew. Let’s get painting! 🎨
1. The Magic of a Tinted Primer
Most people know they should use a primer, but many grab a standard white can off the shelf without a second thought. Here’s a pro secret: ask the paint store to tint your primer. By adding a small amount of your final paint color to the primer, you give your topcoat a head start. It’s a small step that makes a massive impact on the final look.
This is especially helpful when making a dramatic color change, like painting a light color over a dark wall or vice-versa. A tinted primer helps the new color appear richer and more vibrant with fewer coats. That means you save money on expensive paint and you finish the job much faster. It’s a classic win-win situation.
2. Conquer Painter’s Tape Bleed with Caulk
Is there anything more frustrating than peeling off your painter’s tape only to find messy, jagged lines where the paint has bled underneath? It can ruin the look of an entire project. Professionals have a brilliant trick to guarantee razor-sharp lines every single time, and it involves a little bit of clear caulk.
After applying your painter’s tape, run a very thin bead of paintable clear caulk along the edge you’ll be painting. Use your finger to wipe away any excess, leaving an invisible seal. Once the caulk is dry, you can paint right over it. The caulk creates a perfect barrier that paint can’t sneak through, leaving you with crisp, clean lines that will impress everyone. ✨
3. Use a Wet Rag, Not Your Fingernail
When you’re in the zone, it’s easy to get a small drip of paint on the ceiling, trim, or floor. The immediate impulse for most DIYers is to quickly swipe at it with a finger or try to scratch it off with a fingernail. This almost always results in a noticeable smear that’s much harder to fix than the original drip.
The expert move is to always have a damp rag or a handful of cotton swabs with you while you work. As soon as you spot a drip or a smudge, you can gently and precisely wipe it away while the paint is still wet. This removes the mistake cleanly without damaging the surrounding surface or creating a bigger mess. It’s a simple habit that keeps your work looking neat from start to finish.
4. Wrap Your Rollers and Brushes
One of the most tedious parts of any painting project is the cleanup. Washing rollers and brushes thoroughly takes time and a lot of water. If you’re taking a lunch break or stopping for the day to resume tomorrow, cleaning everything seems like a huge chore. Pros know that you don’t always have to.
To keep your tools fresh for a few hours or even a couple of days, simply wrap them tightly in plastic wrap or seal them in an airtight plastic bag. This prevents the paint from drying out. When you’re ready to paint again, just unwrap your tools and they’ll be ready to go, still loaded with paint. This little trick saves time, water, and your sanity. 🌯
5. Box Your Paint for Consistent Color
You bought three gallons of the same paint color, so the color should be identical in every can, right? Not always. Tiny variations can occur between different batches, and if you switch to a new can midway through a wall, you might see a subtle but noticeable shift in shade once the paint dries.
To avoid this, painters use a technique called “boxing.” Before starting, they pour all the cans of paint for a single room into a larger five-gallon bucket and give it a good stir. This mixes all the cans together, eliminating any slight variations and ensuring your color is perfectly consistent from the first wall to the last.
6. Add Vanilla Extract to Your Paint
The strong smell of fresh paint can be unpleasant and even cause headaches for some. While low-VOC paints have improved the situation, that distinct “paint smell” can still linger. If you want a more pleasant painting experience, your kitchen pantry might hold the answer.
Here’s a sweet-smelling hack: add a few drops of pure vanilla extract to each gallon of paint before you stir it. A teaspoon or two is all you need. The vanilla helps neutralize the harsh chemical odors without affecting the paint’s color, consistency, or drying time. It makes painting indoors, especially during an Edmonton winter when opening windows isn’t ideal, a much nicer experience. 🍦
7. Start with a “W” on the Wall
When most people use a roller, they start at one end and go up and down, reloading when the roller feels dry. This method often leads to visible lap marks and an uneven finish because the paint isn’t applied uniformly. To get that seamless look, you have to change your technique.
A much better method is to load your roller with paint and apply it to the wall in a large “W” or “M” pattern, roughly three feet wide. Then, without lifting the roller, fill in the pattern with a series of overlapping vertical and horizontal strokes. This approach distributes the paint much more evenly across the section, giving you a smooth, professional-looking finish without any tell-tale roller lines.